Trying to create artwork for your business but have no idea where to start? You’re not alone.
If you’ve never done this before, you’ve come to the right place! Things like file types, resolution, and sizing can get confusing quickly. Whether you’re designing gift cards, membership cards, or something similar, there are a few key details that make a big difference in how your final product turns out.
If the only artwork you have isn’t perfect, that’s okay. It happens all the time. The important thing is working with a printing partner who can help guide you. Because these aren’t just our preferences. They’re print industry standards that help ensure your artwork comes out clean, sharp, and professional.
At Vanguard ID Systems, we don’t just print. We help you get it right! Our specialized design team is here to improve your files, fix common issues, and make sure your final product looks its best.
If you’re looking to create artwork for the first time, follow these eight simple steps to set yourself up for success from the start.
1. Choose the Right Design Program
First things first…don’t worry, you don’t need to be a designer, but the program you use does matter.
- Adobe Illustrator, Photoshop, or InDesign are the best options because they make it easier for us to adjust your artwork and get it ready for print. But they are more difficult to learn. YouTube is your friend when figuring them out!
- Canva also works well for simple designs and is often a more affordable option, but can sometimes be harder for us to edit if you use low quality images and don’t export correctly. See Part 3 for more information on exports.
- Avoid using basic tools like screenshots, Word, or PowerPoint, as they can limit quality and cause difficulty when trying to make edits
Using the right tool helps us make any needed changes quickly and ensures your final products are clean and sharp.
2. Make Sure Your Final Artwork File is High Resolution
The most important part of creating high quality artwork for printing is image resolution.
That doesn’t just mean your final image. It also means every image you add, like your logo and background.
Here are some sizing tips:
- Bigger images = better results.
- When possible, make your artwork the same size on your screen as you plan to print it.
- 300 DPI is the target for best quality. Anything smaller may result in blurry images.
- For a standard card size, your final resolution should be at least 675 x 1050 pixels.
- It’s always smart to go a bit bigger if you can. If your file is very small (like 25 KB), it’s probably low-quality.
- Avoid taking a picture with your phone of your logo or artwork.
Use your senses as a sanity check. If an image or text looks blurry on your screen, it will look worse when it is printed. But the most important thing is the file settings while saving.
If the only artwork you have is low quality, communicate your challenges with the printing company. At Vanguard we have a design team ready to help make your assets higher quality! Avoid trying to “upscale” your images. We have professional tools that can do the job better.
Pro Tip: If you have art in special “vector” formats like EPS, SVG, or AI, then resolution isn’t important. These file types have the unique property of being resizable without losing quality because they are made using lines and shapes instead of pixels. That makes them a great option to save your final artwork as well.
3. Picking the Best File Type
Some file types work significantly better than others. Not all files are created equal, as we noted in the Pro Tip above.
Best:
- EPS, SVG, or AI (Illustrator files) – easy to resize without losing quality
- PSD (Photoshop files) – layers are your friend
Good:
- PDF – works well if no changes are needed, but could still contain poor quality images
Okay:
- PNG / TIF – Among the better commonly used file types. These retain full image quality
- JPG – The most common file type because it saves memory. They will work, but are often lower quality.
Avoid if possible:
- BMP – usually low quality
Pro Tip: If you’re using Canva, make sure to download your file as an SVG for the best results.
If you’re not sure, check with our team and they can often provide guidance on a specific format.
4. Don’t Use Tiny or Compressed Files
If you downloaded it from a website or it’s a screenshot, be wary of its quality.
- Files that are heavily compressed lose their quality.
- A very small file size (under 100 KB) usually means it’s a poor image.
- For simple logos and text, aim for file sizes over 100 KB.
- For complex graphics, aim for file sizes over 1 MB.
5. Keep Important Text Away from the Edges
When products are cut into their final shape, there’s always a chance of movement. So, these design strategies help every card come out looking great.
- Keep text and logos from touching the edges. A forgiving design leaves at least an 1/8 of an inch away from the edge.
- Let background colors or images extend past the edge by 1/8 of an inch. This ensures your color doesn’t suddenly end with a bare white stripe on the side of the card.
We have PDF templates available for all our products which can help serve as a guide. Please let us know if you need one!
6. Don’t Overcomplicate the Text on the Back
If there are no designs on the back of your card, we make it easy to send in text for the back. Email us the text, and our design team will set it up for you! If you want us to match your font or a specific font, that is important information to communicate.
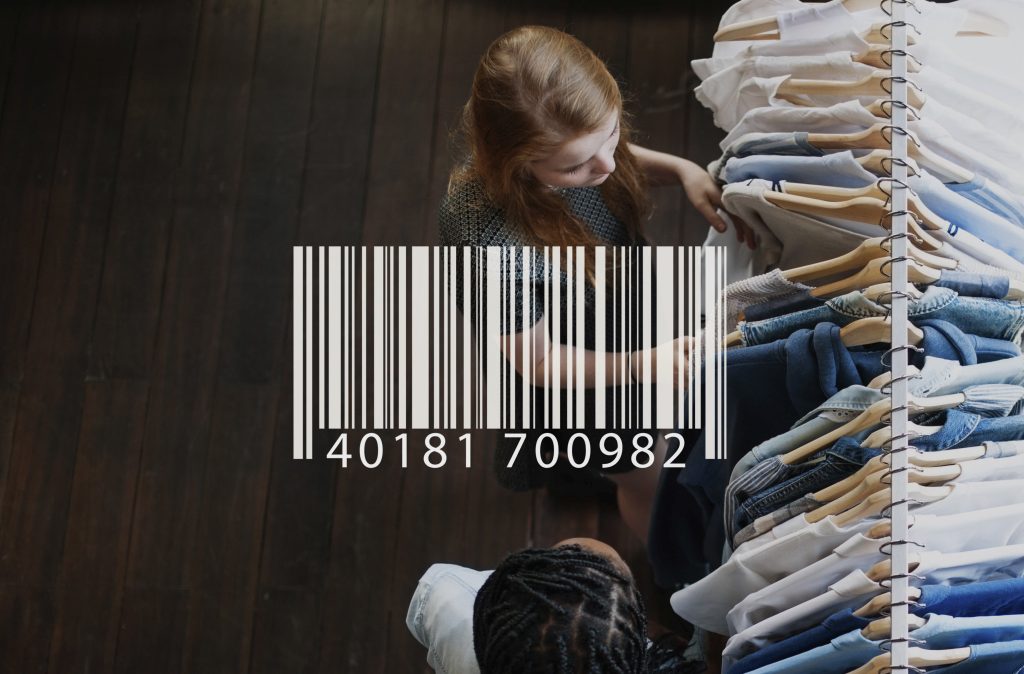
7. Plan for your Barcode and/or Magstripe
Barcodes and magstripes need enough space to be read accurately. So, if you are designing your card’s back, you’ll need to leave room! Here is a safe guideline:
Barcodes:
- Reserve an area of 2 x 1/2 inches.
If you have special requirements for the type or size of your barcode, consult with your sales rep for more information.
Magstripe:
- Reserve an area of 3 3/8 x 1/2 inches
If you have both, yes, you need to leave space for both!
8. How to Send Your Files
You made it past the hard parts. You’ve designed your own artwork and saved it as a high quality, good file type. Sending these days is easier than it’s ever been.
- Most artwork can be sent by email.
- But…if the file is too large, a downloadable link also works. Google Drive and Outlook both offer this feature in emails. There are also services like Dropbox where you can create an easy link.
If you’re able to open the file on your end, we can usually open it on ours.
You Don’t Have to Get It Perfect
If all of this feels a little overwhelming, you’re not alone. Providing artwork can be confusing, especially if you don’t work with design files every day or have never designed anything before. The good news is that you don’t have to get everything perfect.
As long as you’re sending the best quality file you have, you’re already doing the right thing! From there, we are here to guide you, fix small issues, and make sure everything is set up for printing.
Mistakes happen all the time, such as low-resolution images, missing files, and things saved the wrong way. It’s all part of the process. What matters most is starting with something we can work with.
When in doubt, just send what you have and ask! We are here to help make sure your final product turns out exactly how you want.